Transcript:Install an IDE Hard Drive
- Hi, today you're going to learn how to install an IDE hard drive.
Prepare IDE Hard Drive for Installation
- Power off your computer by flipping the switch at the back of your power supply, remove the power cord and disconnect any devices plugged into the computer. Place the unit sideways on a flat, non-abrasive surface. Remove any screws that are holding the case cover in place, slide the cover sideways and lift it.
- On the side of your hard drive, make sure the jumper is set to the "Cable Select", or CS, mode.
Affix Hard Drive to Cage
- Inside your computer, there is a cage that holds the hard drives. Slide your drive into a slot inside the cage. You will know you've placed the drive properly when the mounting holes on the slot align with the screw holes on the drive. Attach the drive to the cage using standard computer screws.
Connect Hard Drive to Motherboard and Power Supply
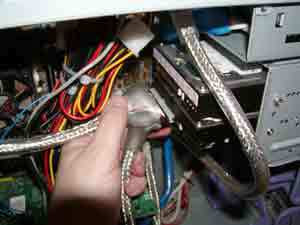
- Your IDE cable has a single connector on one side, and two connectors on the other side. The single connector, which is often blue, goes into the IDE socket on the motherboard. The connector located furthest on the other side of the ribbon, often black, goes into your hard drive. The connectors are typically keyed, which means you won't be able to plug them in if they're facing the wrong way.
- Locate a 4-pin Molex connector coming out of your computer's power supply. Plug it into the power connector on your hard drive.
Set Up Hard Drive on Your System
- Your drive is now connected to the motherboard and the power supply. Replace the case cover and secure it with the screws you previously removed. Connect the power cable and turn on your computer. Follow the instructions in your motherboard manual to enter BIOS and ensure the drive is detected on your system.
- Thank you for watching, and for more information, please visit About.com.
- About videos are made available on an "as is" basis, subject to the User Agreement.


No comments: